Friday, January 10, 2014

30 Before 30: #19 DIY Night Stand

Technically, goal #19 on the original list was "Build a TV stand."

But something funny happened in May of this crazy year: we bought a house. And that changed a bunch of our priorities. In the 30 Before 30 Recap that I'm still writing, I use that excuse to explain away my failure to complete some of the higher ticket price items on my list like "Visit a new American metropolis" and "Go whitewater rafting."

But this goal just got changed a little. Instead of a TV stand for the office, a higher priority became a night stand for the bedroom.

So I built this:

 
I am, I will admit, probably a little too proud of how this project came out. The drawers are only marginally functional, since the design I was working off of didn't have any hardware on its drawers, I didn't really think of it until later, and my drawers don't fill the drawer opening vertically as closely as they would have needed to in order to be self supporting. So I wound up going back and inventing in the final stage of the project...

In retrospect I should have disassembled my drawer boxes and cut the pieces down so that there was room for metal drawer slides. Instead, I used a piece of scrap would and a C shaped plastic slider to create a center, under drawer slider.

So the drawers are small (I knew that going in) and require two hands to open. Lesson learned. The piece compliments Carol's night stand pretty nicely (I built mine wider and deeper than the plan, to match the dimensions of the one on the other side of the bed).

And while I was a little sad to paint it black, I'm was happy to bring back some of the cherry that forms the legs and top by distressing the paint job.

So now I take the things I learned in this project, and maybe I can apply them to building that TV stand in the coming year.

Thursday, February 21, 2013

Making Pasta

Goal #4 for my 30 Before 30 project was to use the pasta maker attachment that Carol and I received from my Uncle David and his family for our wedding. A big tradition in my family is making ravioli at holiday time, and while I've helped my mother a couple times, I've never been in charge of the project.

So last Tuesday, since Carol had the day off from work, I took the day off too. It was a fun way to replace some of the Saturdays and weekday evenings we don't get to spend together because of our work schedule.

The first step was to make the dough, divide it into balls and let it sit for an hour.

 We basically just followed the recipe from The Joy of Cooking, but we mixed in some semolina in with the regular flour.

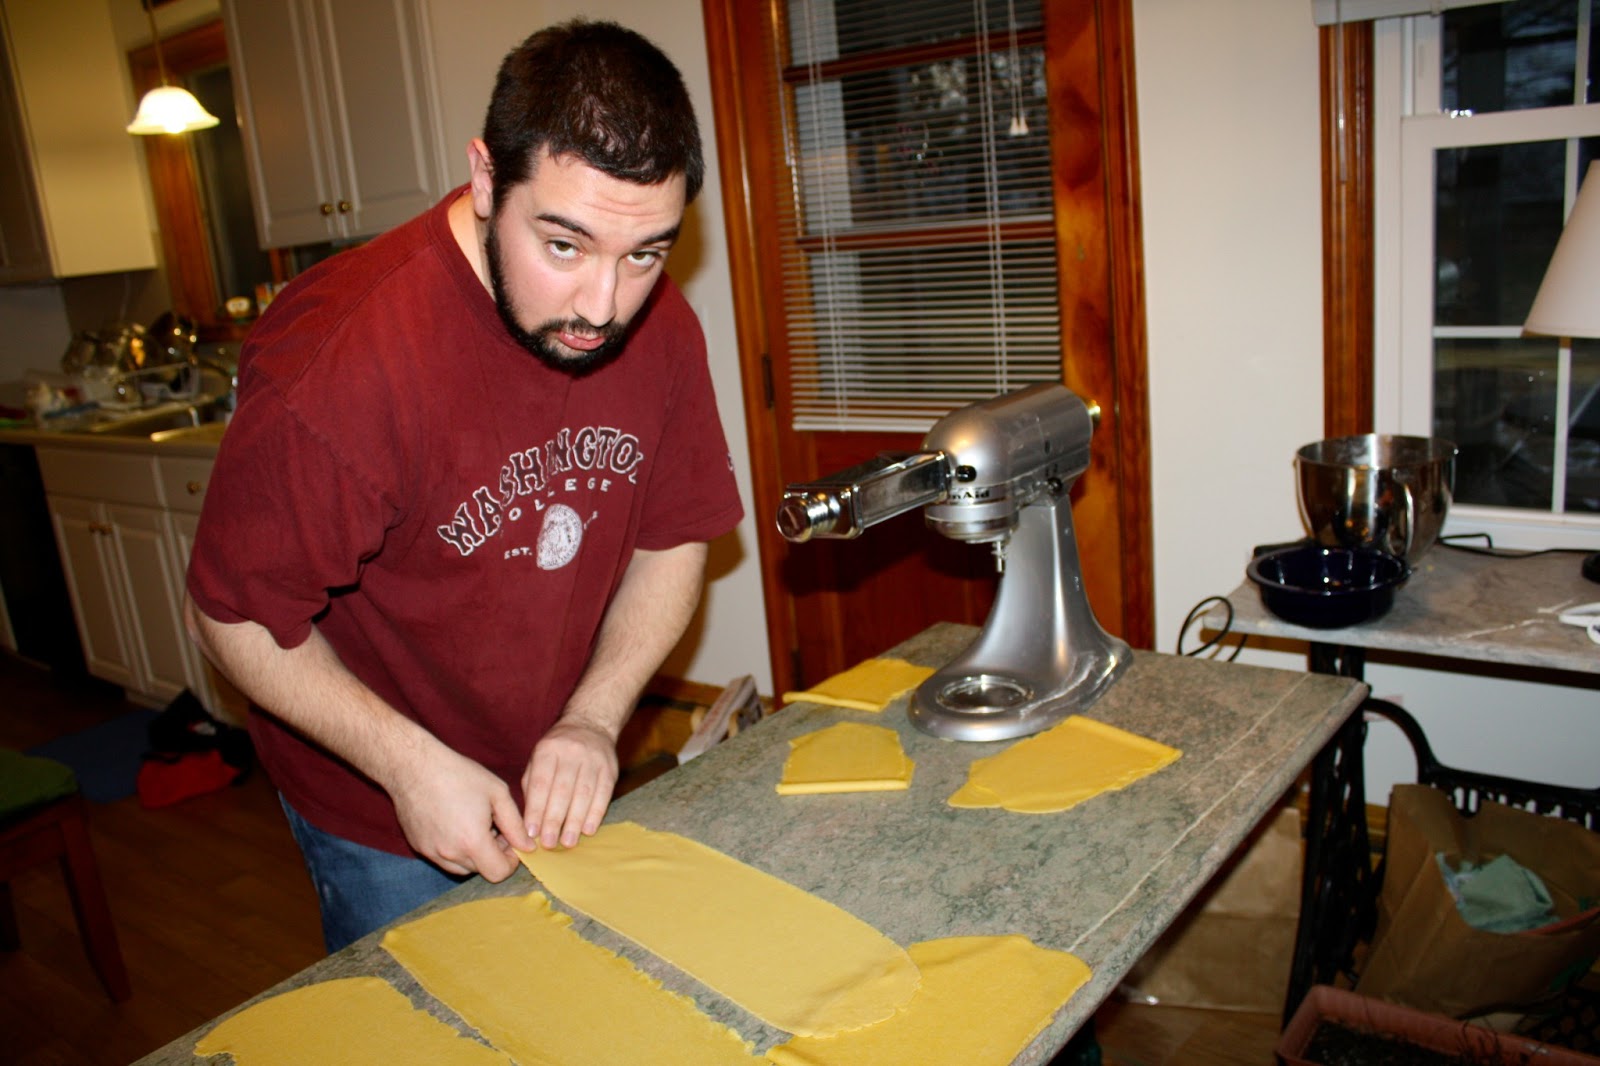
Next we flattened the dough balls by hand and ran them through the KitchenAid over and over, each time making the opening on the roller a little smaller.

Sometimes Carol likes to surprise me with the camera. I do not, generally, find this amusing.


Tuesday, February 5, 2013

DIY Chess Board Table

My little table
I didn't grow up in an especially "handy" home. My father was a decent fixer of toys, and in a summer when I was little and he was out of work he built a fort for my brother and I that stood beside our house for the next 20 years.

But in terms of passing on skills, I learned most of what I know in theatre shops (working with wood) or in the Boy Scouts (ropes, knots and catapult building). I'd like to learn more.

So in an effort to teach myself a little more, I built a chess board table, basically by following directions I found here and here. And while I still have to stain and polyurethane it (it's just been too cold), the project is done. It was never expected to be a beautiful thing, but a piece of furniture I can leave on our back porch, and play on with friends in the summer time.

Things I wish I'd known at the start:
1) I should have sanded the strips before I cut them. I cut the boards into strips, and then glued and clamped the strips together to cross-cut into squares. If I'd sanded the boards while they were strips, I probably could have saved myself some time at the end.

2) I wish I'd allowed an inch of saw-loss. I measured and marked my strips to cut into 1.5" squares, but I didn't leave any extra. By the time I ran the saw over each strip 8 times, I was left with little rectangles instead of little squares. It's hardly noticeable on any given piece, but the board is a full in longer than it is wide. Whoops!

3) Figure out a better way to build a shelf. You can see my little shelf in the picture; I figured it would give me a place to leave a set or put down captured pieces. It's just a piece of plywood resting on dowels I put in my 2x4 legs. If I'd thought it through a little more, I probably would have put a groove in the legs to slide the shelf into place.

In its way, the project was a success. And it's given me the confidence to tackle a much bigger project- building a tv stand/ entertainment cabinet for our spare room that'll hide the video game controllers and DVDs (#19 on the list). There's only one way to learn...